Idea 6: The Stamped Concrete and Brick Edging Border
Execution Process
Installing a brick paver or stamped concrete border along the margins of a plain driveway creates an upscale, custom-designed aesthetic that elevates curb appeal instantly. Framing an existing asphalt or poured concrete driveway with contrasting red clay bricks, granite cobbles, or stamped stone borders creates sharp definition and visual interest. This technique transforms an ordinary driveway into a high-end architectural entrance by introducing rich color, tactile variation, and defined spatial boundaries. Beyond visual enhancement, a solid masonry border prevents asphalt edges from crumbling over time under heavy vehicle weight. The structured border also provides a clean resting line for lawn mowers, preventing turf grass from encroaching onto the parking surface and simplifying ongoing lawn maintenance.
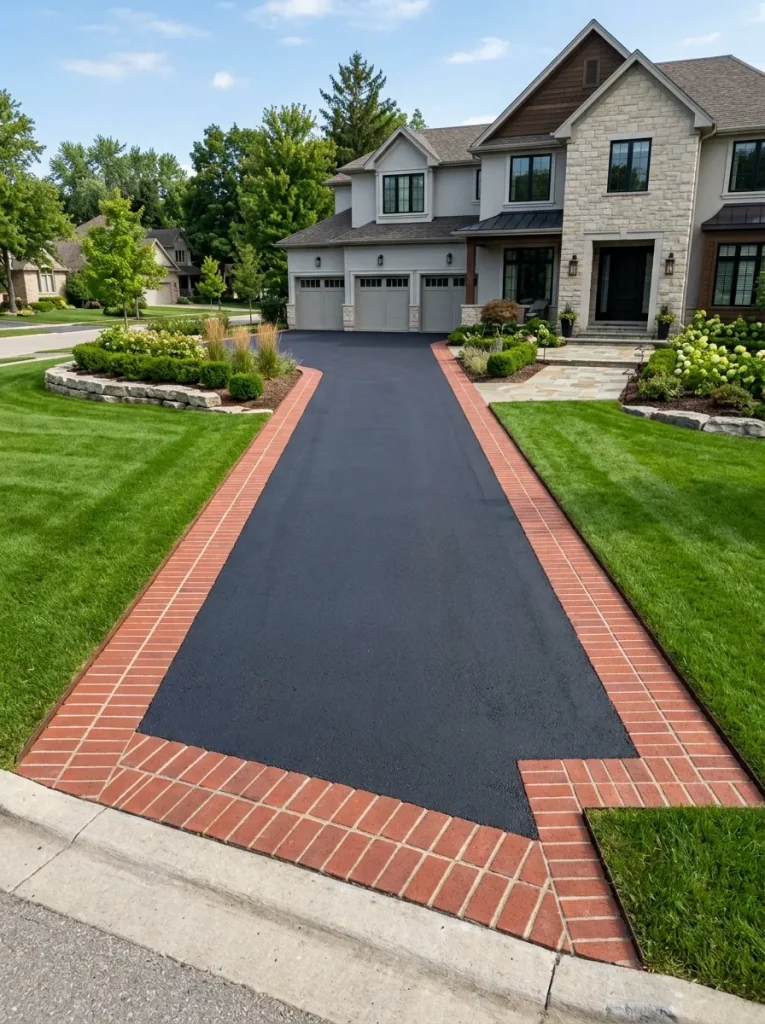
Executing a brick edging border along a driveway requires digging a narrow, precise trench directly along the driveway sides. Excavate a six-inch wide by six-inch deep trench, compacting the exposed soil sub-grade firmly with a hand tamper. Fill the trench with a three-inch compacted gravel sub-base, followed by a one-inch layer of coarse concrete sand screeded level. Lay clay bricks or granite cobbles end-to-end along the driveway line, setting them flush or slightly raised above the main driveway surface using a rubber mallet. Secure the outer edge of the bricks with heavy-duty plastic paver restraint edging held down by ten-inch steel spikes driven into the ground. Sweep polymeric joint sand over the bricks, brushing it into all crevices before moistening the sand with a light water mist to lock the pavers in place.