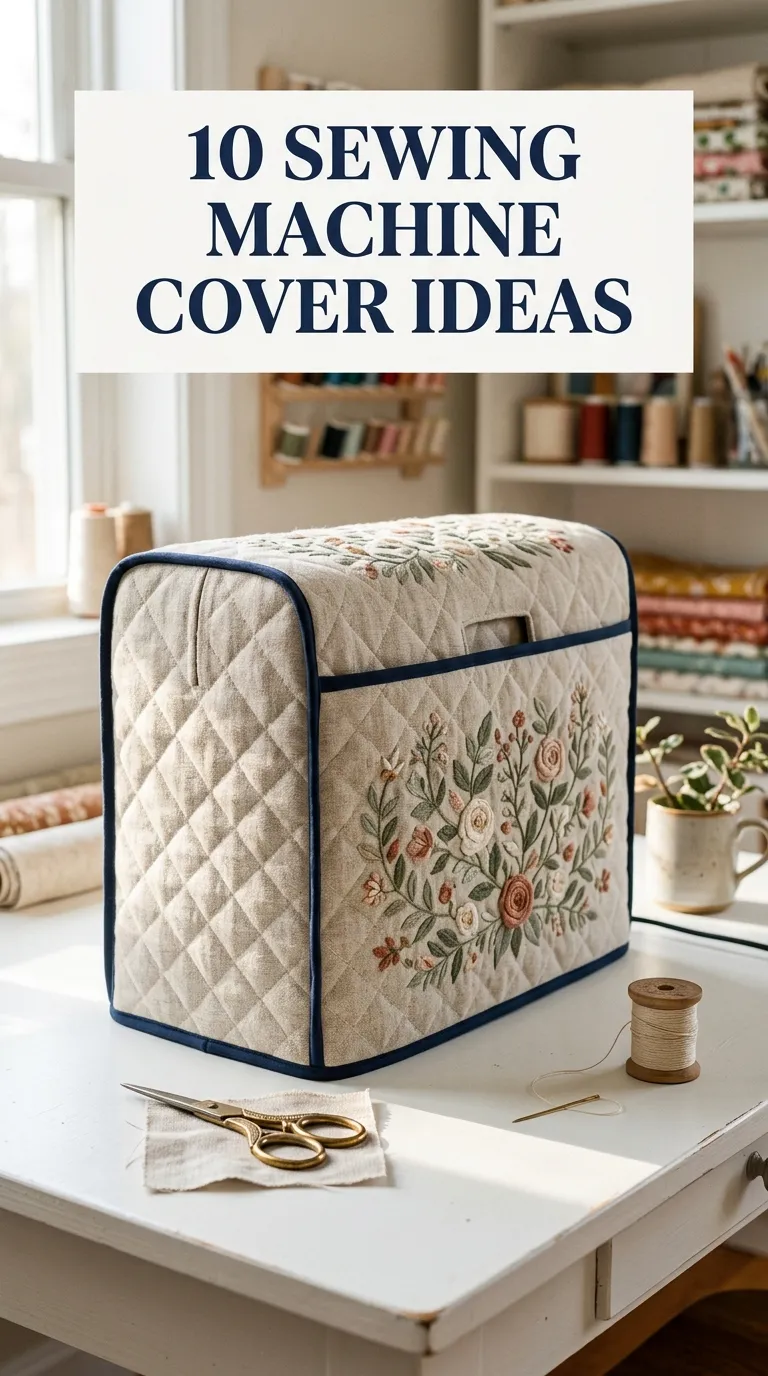
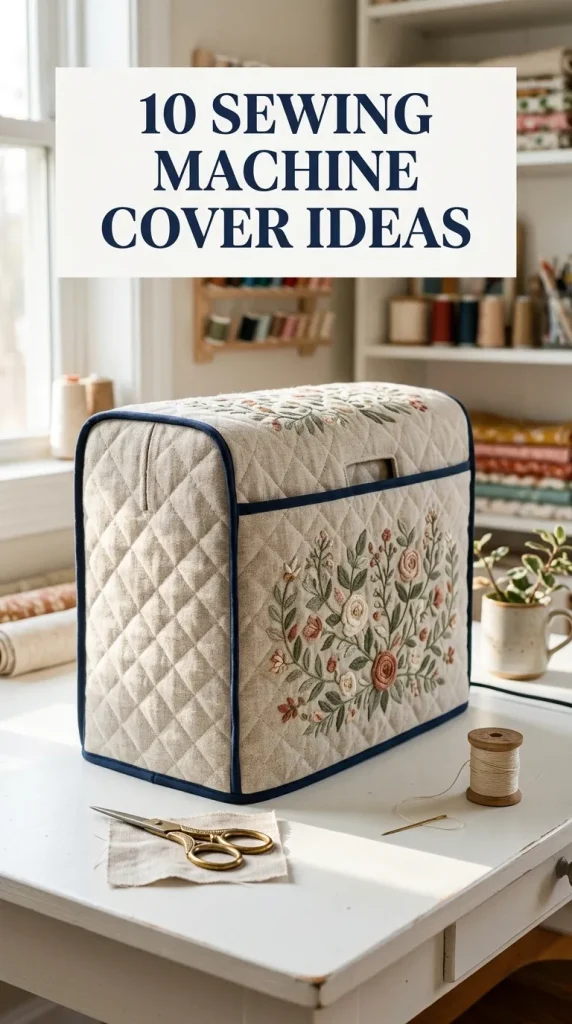
10 Sewing Machine Cover Ideas
An active sewing workspace requires systematic organization and consistent maintenance to keep delicate machinery operating at peak performance. Designing a custom sewing machine cover is an excellent home decor and storage project that shields your valuable equipment from dust, lint, pet hair, and sunlight. On platforms like Pinterest, customized equipment wraps and fabric sleeves have become incredibly popular as makers seek to beautify their workspaces while preserving their tools. This comprehensive tutorial will guide you step by step through the process of selecting appropriate textiles, measuring your specific machine dimensions, and sewing a durable, structured protective barrier. You will learn how to calculate proper clearances, incorporate integrated storage pockets, apply stabilizing interfacings, and execute clean finishing techniques that look professional. Whether you operate a compact embroidery unit, a heavy-duty industrial straight-stitcher, or a standard domestic computerized model, building a custom-fit cover is a highly practical and satisfying endeavor. By focusing on structural integrity and complementary color palettes, you can transform simple yardage into a sophisticated workspace accessory that keeps your creative zone beautifully organized.
Why Tailored Equipment Sleeves Are a Trending Studio Upgrade
The surge in popularity of handmade equipment shields in craft organization circles highlights a broader trend toward beautifully styled, functional workspaces. Modern home design heavily emphasizes clean, distraction-free environments, making the sewing machine cover a key element of contemporary workspace planning. These specific trending ideas offer immense practical value because they rescue sensitive internal mechanical gears from the abrasive qualities of settling household dust. The DIY appeal of these covers is exceptionally strong, allowing individuals to use up leftover fabric scraps, practice new quilting techniques, or experiment with structural sewing without committing to a full-sized garment project. Beginners can easily manage these projects because the basic box-like construction consists of simple straight seams and flat panels that are highly forgiving to assemble. Furthermore, the aesthetic flexibility of a custom cover means it can be adapted to any interior style, ranging from a sleek minimalist style to a vibrant, textured patchwork aesthetic. By replacing plastic factory-issued dust lids with high-quality, padded fabric creations, you instantly elevate the warmth and character of your creative room.
Selecting Premium Textiles, Interfacing, and Layout Prep
Meticulous physical planning and correct material sourcing are essential to constructing a sewing machine cover that maintains its shape and offers lasting protection. Before cutting into your fashion fabric, you must accurately measure the height, width, and deepest depth of your sewing machine, including protruding elements like the handwheel, spool pins, and foot pedal cables. The primary materials required for a standard structured cover include sturdy outer fabrics such as cotton canvas, linen, or denim, along with soft cotton lining fabrics to protect the plastic machine housing from scratches. Crucial to this creative project is the selection of internal stabilizers; utilizing fusible fleece, foam stabilizer, or heavy sew-in batting is highly recommended to give the flat panels enough structural body to stand upright on their own. Essential tools for this tutorial include a rotary cutter, an extra-large cutting mat, a long acrylic quilting ruler, sewing clips, sharp fabric shears, and a water-soluble fabric marker. Preparation involves pre-washing all of your selected cotton materials to prevent future shrinkage and ironing the fusible fleece directly onto the wrong side of your outer panels before starting the assembly.
Idea 1: The Padded Quilted Box Cover
How to Create
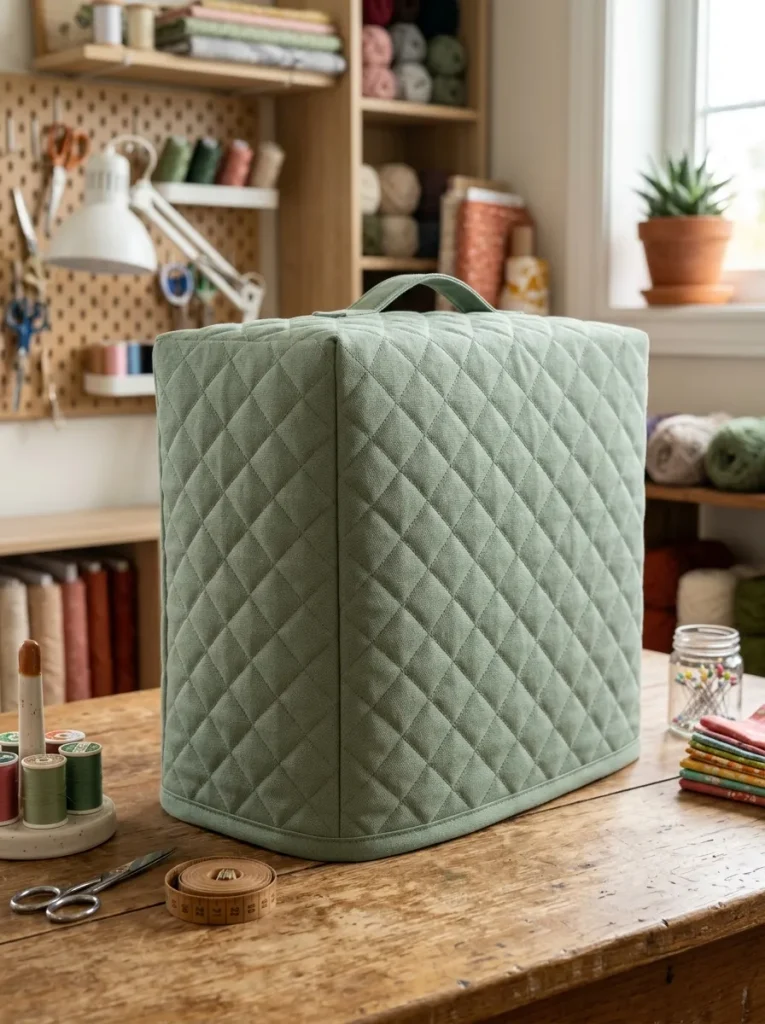
The padded quilted box cover relies on classic sandwich construction techniques to create a thick, shock-absorbing barrier that stands completely upright on its own. This design concept utilizes decorative straight-line or free-motion quilting to join the outer fabric, batting, and lining layers into a singular, structurally stable fabric panel. The design philosophy centers on geometric order, using the grid patterns of the quilting stitches to add visual texture while preventing the inner batting from shifting over time. This heavy-duty style is highly practical for busy multi-use workspaces where the sewing machine is frequently moved or stored on open shelves alongside other craft supplies.
To execute this setup, start by cutting three primary panels based on your machine measurements: one long continuous wrap panel that covers the front, top, and back, and two matching rectangular side panels. Create a three-layer sandwich for each piece by layering your backing fabric face down, placing low-loft cotton batting in the middle, and positioning your main canvas fabric face up on top. Secure the layers using curved safety pins, and sew diagonal intersecting lines across the surfaces to create a classic diamond quilting pattern. Once all three panels are fully quilted, trim the edges neatly using a rotary cutter and an acrylic ruler to ensure perfect ninety-degree angles. Pin the quilted side panels to the long main wrap panel with right sides facing, matching the corners carefully, and sew the seams using a half-inch seam allowance. Finish the interior raw edges with a clean zig-zag stitch or serger, turn the cover right side out, and sew a double-fold bias tape binding along the bottom hem.
Idea 2: The Multi-Pocket Organizer Wrap
Step-by-Step Guide
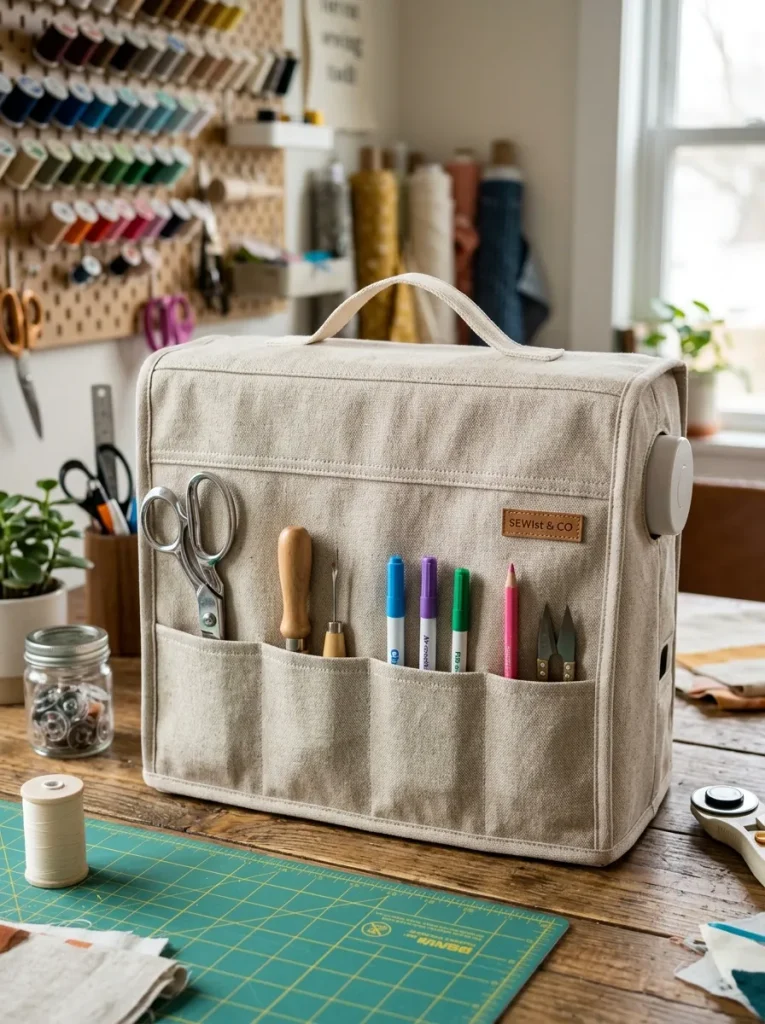
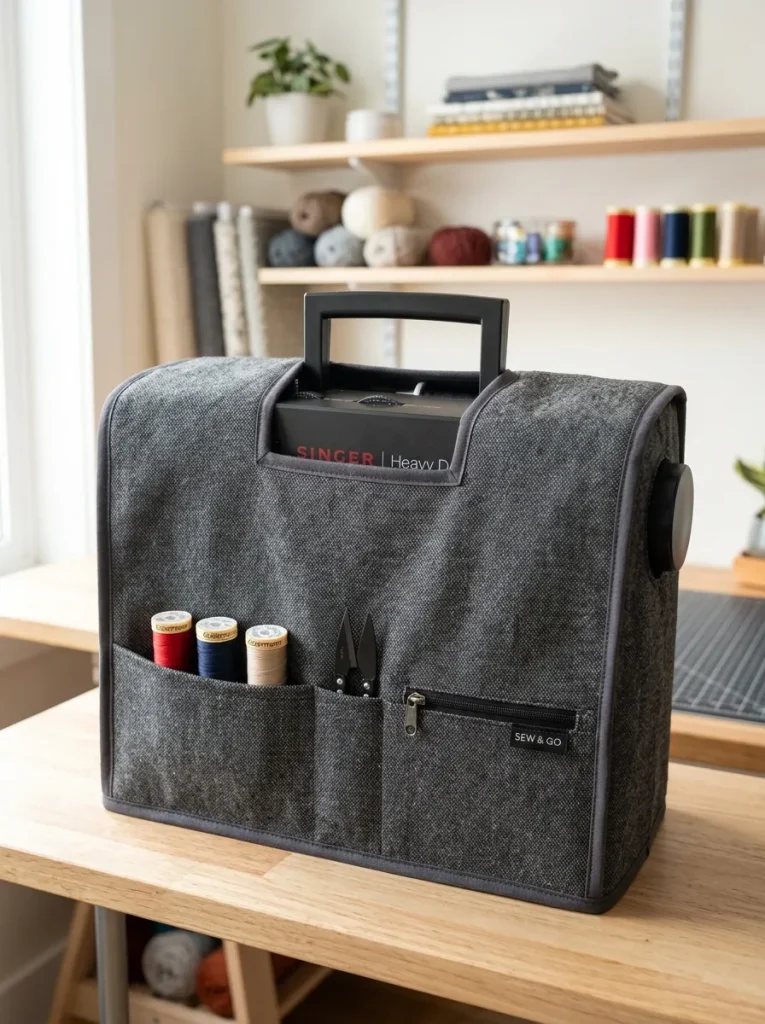
The multi-pocket organizer wrap is a highly functional utility cover designed to consolidate your most frequently used sewing notions directly onto the exterior of your machine housing. This concept features flat, partitioned slip pockets sewn onto the side and front panels, providing dedicated slots for fabric shears, seam rippers, clear rulers, and marking pens. By keeping these essential tools organized and easily accessible on the outside of your cover, you declutter your primary sewing table and streamline your workflow. This project is incredibly beginner friendly and functions as an excellent way to practice creating clean, flat pockets with reinforced stitching.
Begin by cutting your outer and lining fabric panels according to your machine’s unique dimensions, adding a half-inch seam allowance to all edges. To create the exterior storage pockets, cut a rectangular fabric strip that matches the width of your main front panel but stands at half the total height. Fold this pocket strip in half lengthwise with right sides facing, sew along the top raw edge, turn it right side out, and press it flat to create a clean, finished top pocket hem. Position this prepared pocket panel onto the lower half of your main outer front panel, aligning the raw bottom and side edges perfectly. Sew vertical lines down the pocket panel at varying intervals to create custom-sized compartments, making sure to backstitch securely at the top of each line to reinforce the pocket openings. Assemble the main cover by sewing the front, top, back, and side panels together, ensuring the pocket panels are caught securely in the side seams, and finish the bottom hem with coordinating bias binding.
Idea 3: The Linen Minimalist Drawstring Sack
Setup Method
The linen minimalist drawstring sack embraces simplicity, soft organic textures, and flexible design principles to create a relaxed, dust-free environment. This approach is highly accessible and budget friendly, as it avoids complex structural boxing in favor of a fluid, bag-like shape that slips easily over any machine size. The primary objective is to create a soft, clean aesthetic that blends seamlessly into minimalist home decor layouts when the machine is not in active use. By utilizing lightweight linen, you protect your equipment from settling dust particles while allowing the materials to drape gracefully over the machine’s contours.
Select a high-quality, medium-weight natural linen fabric in an earthy neutral tone such as oatmeal, soft sand, or charcoal gray. Cut two identical large fabric rectangles that are four inches wider and six inches taller than your sewing machine’s maximum dimensions to allow for a loose, relaxed fit. Place the two rectangles together with right sides facing, and sew down the left side, across the bottom, and up the right side, stopping exactly three inches from the top edge on both sides. Fold the raw top edges of both panels down by a half-inch, press, and then fold them down again by one and a half inches to create a hollow casing for your drawstring cord. Sew along the lower folded edge of the casings on both panels, ensuring you leave the side ends open to thread the cord through. Turn the sack right side out, thread a thick cotton rope or braided jute cord through the casings using a safety pin, and tie the cord ends into neat knots to complete your minimalist dust bag.

Idea 4: The Vintage Patchwork scrap buster
How to Create
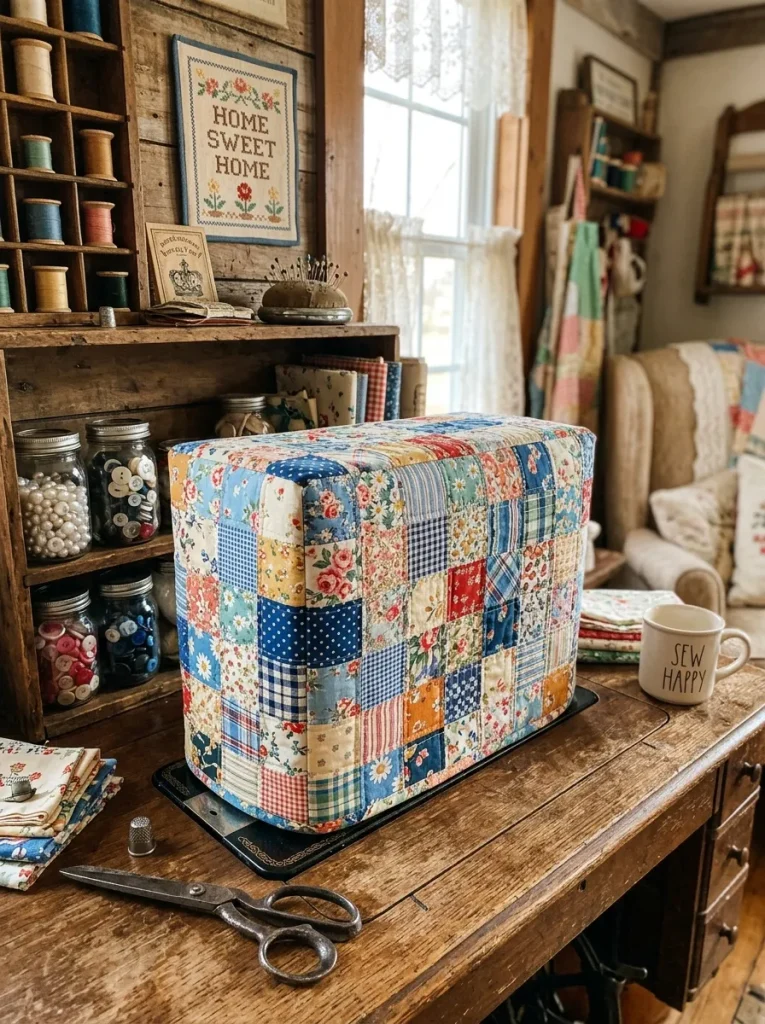
The vintage patchwork scrap buster is an incredibly creative project that transforms left-over fabric remnants, vintage cottons, and precious textile scraps into a colorful, storied workspace accent. This design concept relies on traditional piecing methods to assemble a collage of varied patterns, stripes, and florals into a cohesive fabric sheet before cutting out the cover panels. The design philosophy centers on cozy, nostalgic warmth, allowing makers to preserve memories of past sewing projects directly on the cover of the machine that created them. This style pairs beautifully with eclectic craft rooms and rustic farmhouse interiors, adding a rich handmade charm to the space.
To create this patchwork cover, gather all of your clean, ironed fabric scraps and sort them into a pleasing color palette, aiming for a mix of small-scale prints, solids, and geometric designs. Cut the scrap pieces into uniform squares or random improv strips, and sew them together using a precise quarter-inch seam allowance to build a large patchwork sheet. Press all of your pieced seams flat to one side to minimize bulkiness, and fuse a layer of medium-weight interfacing to the back of the completed patchwork sheet to stabilize the seams. Use your master machine measurements to cut the front, back, top, and side panels directly from this newly created custom textile. Cut matching lining panels from a solid, neutral cotton fabric to keep the interior of the cover clean and snag-free. Layer each patchwork outer panel with its corresponding lining piece, pin them together around the perimeter, and sew the panels into a structured box shape, finishing the bottom edge with a contrast bias tape.
Idea 5: The Clear Vinyl Window Sleeve
Execution Process
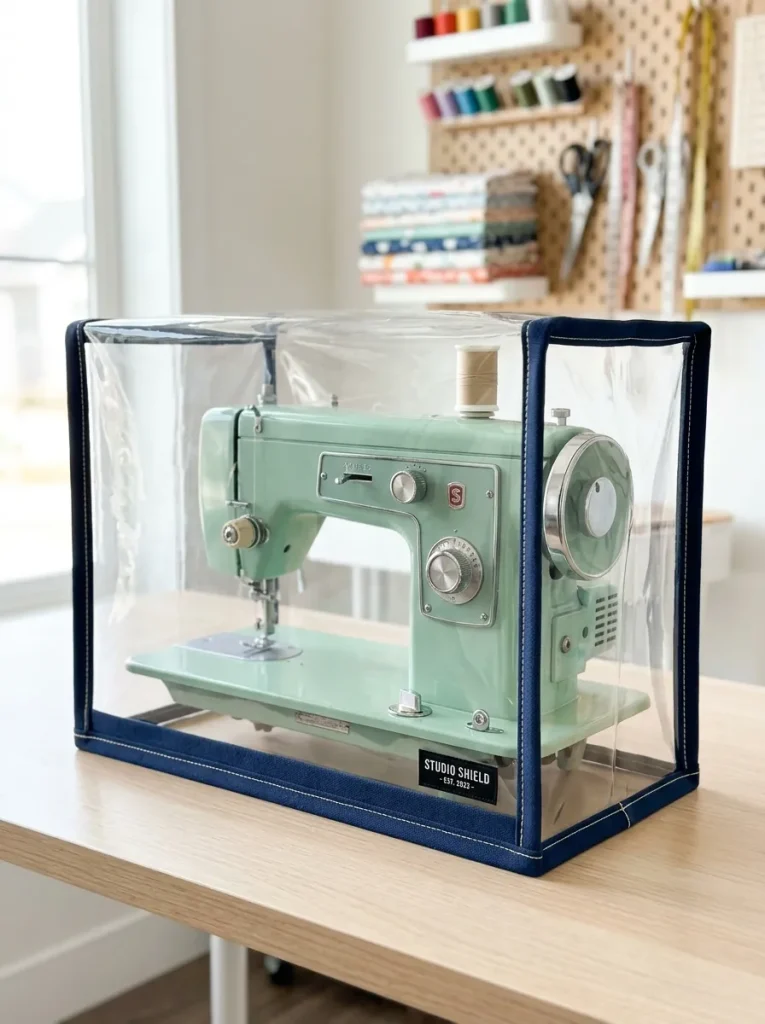
The clear vinyl window sleeve introduces a modern, industrial design element by combining heavy-duty clear vinyl plastic with colorful fabric borders. This concept focuses on total visibility, allowing you to appreciate the aesthetic design, vintage decals, or computerized screen of your sewing machine even when it is fully protected from dust. The transparent panels create a clean, organized look in your craft room, making it easy to identify which machine is inside without needing to lift the cover. This approach is highly practical for makers who own multiple machines, such as sergers, coverstitches, and embroidery units, and want to keep them all systematically organized.
Before starting, purchase a roll of medium-weight twelve-gauge clear vinyl plastic, ensuring it is stored flat to prevent stubborn creases and wrinkles. Cut your front, back, and top panels from the clear vinyl sheet using a rotary cutter, taking care not to use standard pins which will leave permanent, visible holes in the plastic. To create a beautiful structural frame, cut two-inch-wide strips of colorful cotton canvas to serve as the structural side panels and corner bindings. Wrap these fabric strips around the edges of your vinyl panels, securing them temporarily in place using plastic sewing clips instead of metal pins. Set your sewing machine to a longer stitch length and install a non-stick Teflon presser foot to prevent the vinyl from dragging or sticking to the machine bed as you sew. Sew the fabric-bound vinyl panels together using a heavy-duty needle, creating a strong, structured box with contrasting fabric borders that hold the clear vinyl panels in perfect alignment.
Idea 6: The Tailored Hard-Harking Denim Slipcover
Step-by-Step Guide
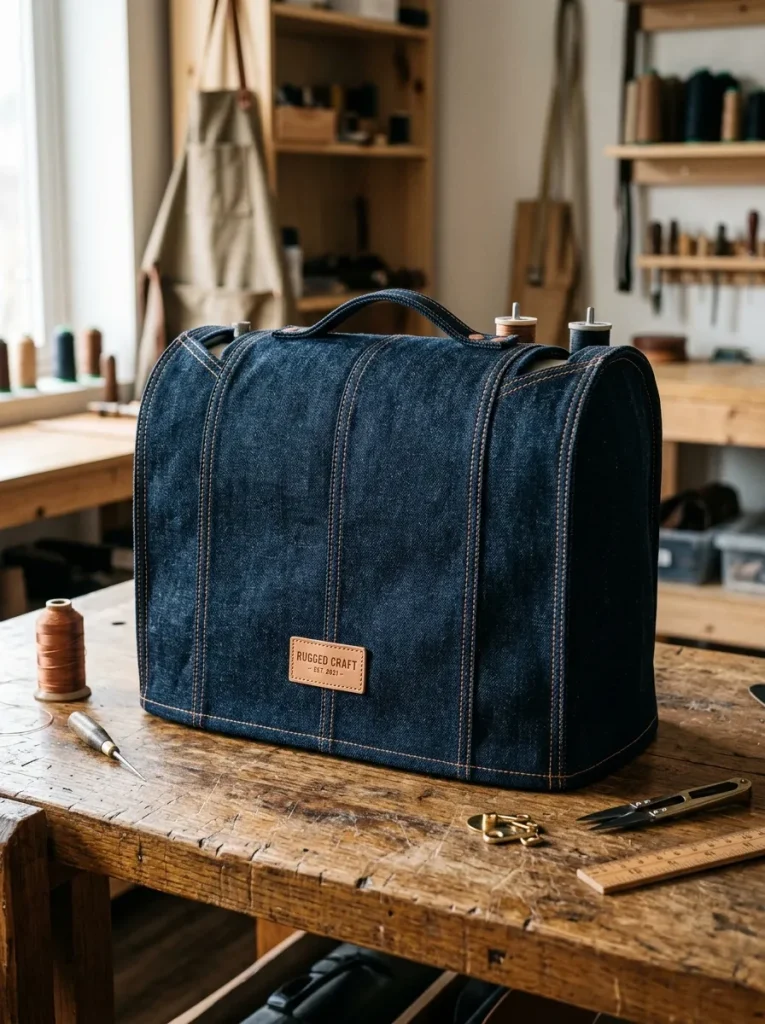
The tailored hard-wearing denim slipcover is a rugged, utilitarian design that offers exceptional durability and a classic, timeless aesthetic. This concept utilizes heavy-weight cotton denim or utility canvas to construct a tough outer shell that easily resists punctures, tears, and abrasions in busy households. The design features clean, topstitched seams that mimic the construction details of high-quality denim jeans, adding a structured, professional finish to your workspace. This project is an excellent option for protecting heavy, mechanical vintage sewing machines that require a substantial, protective cover capable of matching their robust character.
Start by sourcing yardage of unwashed raw denim or upcycling several pairs of old, sturdy denim jeans by cutting them into flat, usable fabric sheets. Cut your main front, back, top, and side panels from the denim material, ensuring you pay close attention to the direction of the fabric’s diagonal weave lines. To achieve a professional denim look, set your sewing machine with a heavy-duty size 90/14 jeans needle and thread it with thick, contrasting copper-colored topstitching thread. Sew the main panels together with right sides facing using a half-inch seam allowance, and then press the seam allowances flat to one side. Turn the cover right side out and sew a clean line of topstitching exactly one-eighth of an inch away from the seam line, capturing the pressed seam allowance underneath to flatten and reinforce the joint. Finish the lower hem by folding the denim edge up twice by a half-inch, pressing it with a hot steam iron, and sewing a solid line of topstitching to complete the hem.
Idea 7: The Handle-Access Slotted Cover
Setup Method
The handle-access slotted cover is a highly practical variation designed specifically for portable sewing machines that are frequently carried to classes, retreats, or different rooms. This concept features a clean, reinforced horizontal slot or opening built directly into the top panel of the cover, allowing the machine’s built-in carrying handle to pass through. By keeping the handle easily accessible, you can lift, transport, and store your machine safely without needing to remove the protective dust cover. This project is a fantastic option for active crafters who value portable convenience and smart, integrated organization in their gear.
To set up this slotted project, measure the exact length, width, and position of your sewing machine’s carrying handle when it is folded flat against the top of the machine. Cut your outer top panel fabric, lining top panel, and fusible fleece stabilizer according to your master dimensions, adding a half-inch seam allowance. Use a fabric marker to draw a narrow rectangle on the wrong side of your outer top panel, matching the exact footprint of the handle opening. Place the outer top panel and lining top panel together with right sides facing, and sew directly along the drawn rectangular outline using a short stitch length. Use sharp embroidery scissors to slice a straight line down the center of the stitched rectangle, making small diagonal cuts into the four corners without snipping the stitches. Pull the lining fabric completely through the sliced opening to the inside, press the turned edges flat with a hot iron to create a clean, professionally faced slot, and then assemble the rest of the cover as normal.
Idea 8: The Elasticized Bottom Snug-Fit Sleeve
How to Create
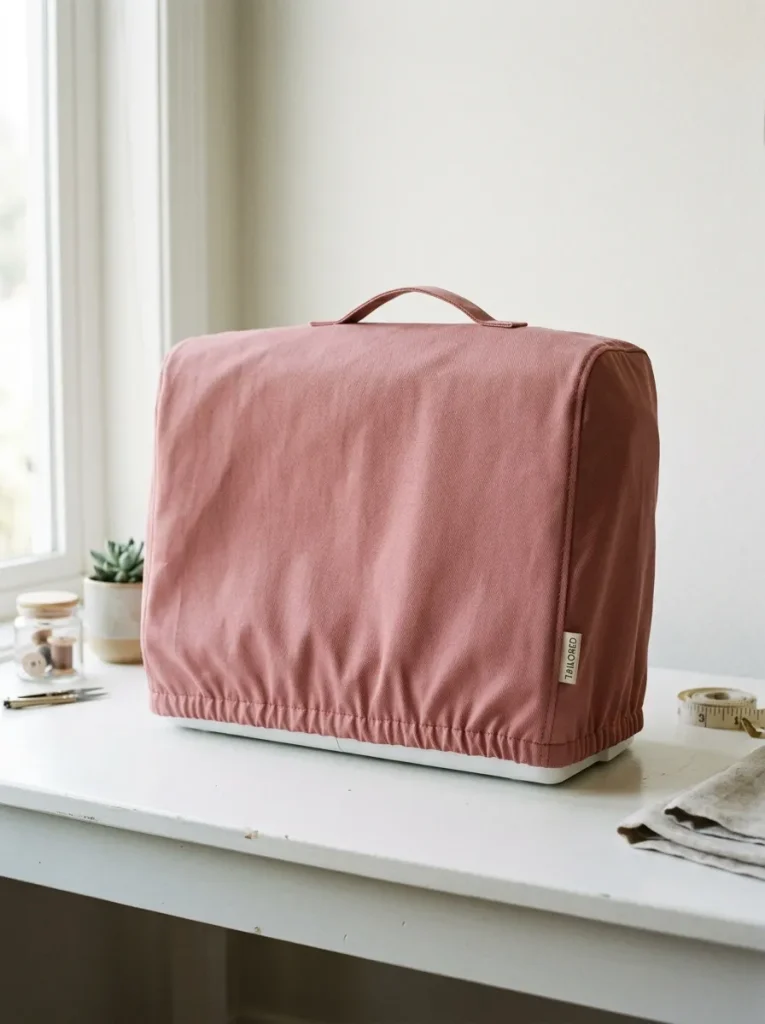
The elasticized bottom snug-fit sleeve is a streamlined, form-fitting design that wraps securely around the entire base of your sewing machine. This concept utilizes a built-in elastic casing running along the entire bottom hem, which pulls the fabric inward to create a tight, custom-tailored seal around the machine’s feet. By eliminating loose, flaring hemlines, this snug design prevents dust from drafts from entering the machine from underneath while keeping the cover securely in place if bumped. This approach is highly effective for compact workspaces or crowded shelves where space is at a premium and a neat, tailored profile is desired.
To construct this form-fitting sleeve, cut your main front, back, top, and side panels from a durable, medium-weight cotton duck or twill fabric, adding an extra two inches to the bottom length of all panels to accommodate the elastic casing. Sew the panels together to form a basic box shape, using a half-inch seam allowance and finishing the internal seams with a pinking shears or a zig-zag stitch to prevent fraying. Fold the raw bottom edge of the cover up toward the inside by a half-inch and press, then fold it up again by one full inch to create a hollow channel for the elastic. Sew close to the inner folded edge of this channel, leaving a small one-inch opening near one of the rear corner seams to insert your elastic band. Thread a three-quarter-inch-wide flat elastic band through the casing using a safety pin, pull the elastic tight until the hem gathers snugly, sew the elastic ends together, and stitch the casing opening closed.
Idea 9: The Reversible Double-Sided Cover
Execution Process
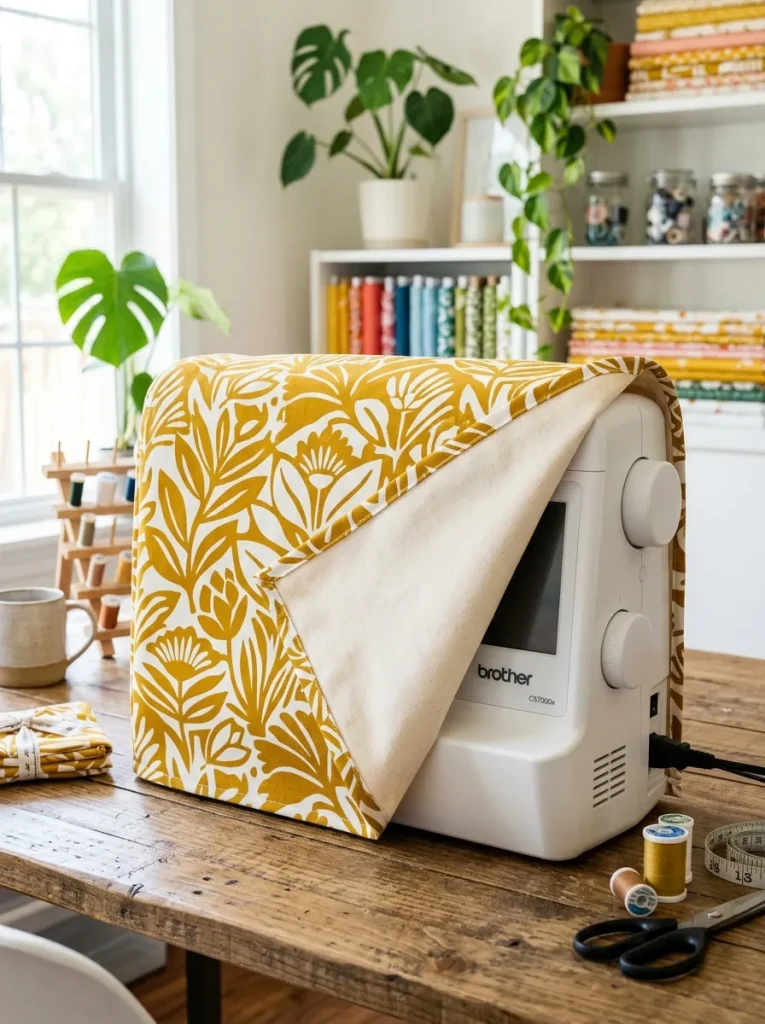
The reversible double-sided cover utilizes clever fully lined construction techniques to create a versatile, two-in-one workspace accessory that can be flipped inside out to instantly change your room’s style. This design concept features two completely finished, contrasting fabric sides—such as a bold modern print on one side and a clean minimalist solid on the other—with zero exposed internal seams. By creating a fully reversible cover, you get double the styling options while enjoying a thick, double-layered fabric barrier that provides exceptional dust protection. This project is an excellent way to learn clean bag-making construction and professional hidden-seam finishing methods.
To execute this reversible design, select two coordinating quilting-weight cotton fabrics that feature contrasting patterns or colors to maximize the visual change when flipped. Cut two complete sets of front, back, top, and side panels: one set from fabric A and an identical second set from fabric B. Assemble the panels of fabric A together to create the outer cover, and assemble the panels of fabric B together to create the lining cover, leaving a four-inch gap unsewn along one of the side seams of fabric B. Place the two completed covers together with right sides facing, nesting one inside the other and matching all the corner seams and the bottom raw edges perfectly. Sew a continuous line around the entire bottom raw hem using a half-inch seam allowance, locking the two covers together. Pull the entire assembly through the four-inch gap left in fabric B to turn the cover right side out, stitch the turning gap closed, press the bottom hem flat, and topstitch around the lower edge.
Idea 10: The Wooden-Base Structured Frame Cover
Step-by-Step Guide
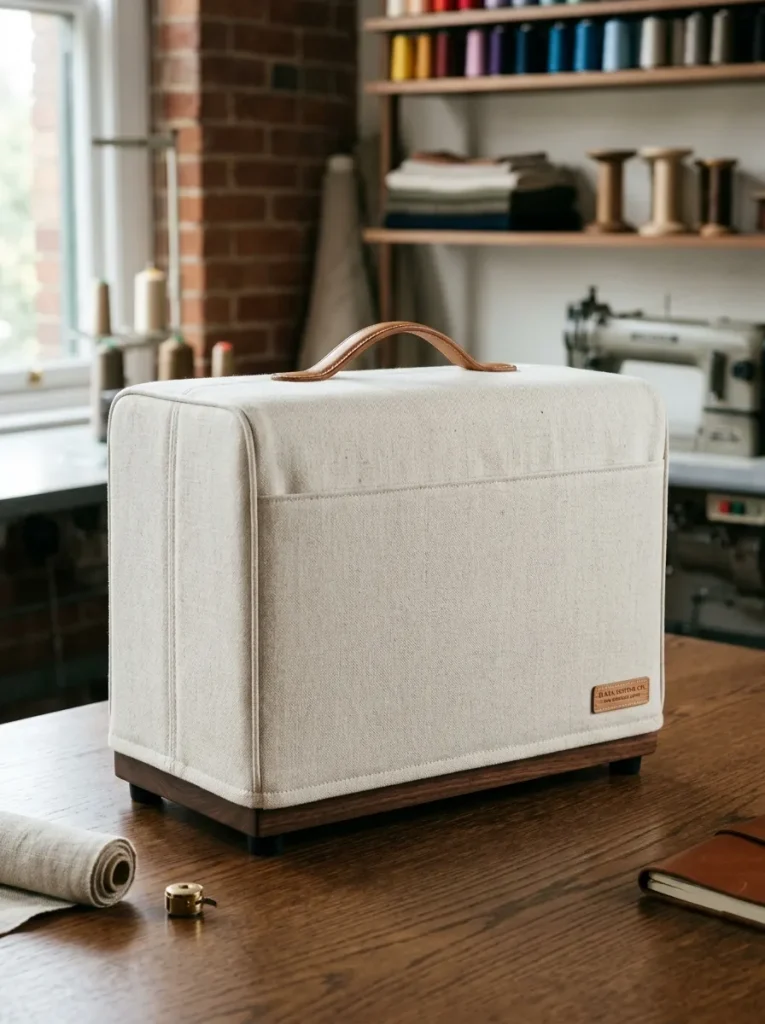
The wooden-base structured frame cover is a grand, high-end design concept that merges traditional carpentry with textile art to create an incredibly rigid, furniture-like protective cabinet. This concept involves building a lightweight rectangular wooden skeleton frame from thin pine laths, which is then covered with a beautifully tailored, padded fabric slipcover. By utilizing a rigid internal wooden frame, the cover maintains a perfect, unyielding box shape that never sags, wrinkles, or touches the delicate dials of your sewing machine. This heavy-duty approach is ideal for dedicated sewing studios and craft rooms where the machine remains permanently on display as a professional design feature.
Begin by measuring your sewing machine’s outer dimensions, adding an extra inch of clearance on all sides to ensure the rigid frame slips over the machine easily without rubbing against its parts. Cut thin half-inch pine wood laths to length, and assemble them into a sturdy, hollow rectangular box frame using wood glue and small brad nails at the corners. Cut your outer fabric panels and lining panels according to the outer dimensions of your constructed wooden frame, adding a half-inch seam allowance. Sew the fabric panels together to form a snug-fitting slipcover, and insert a layer of thick foam stabilizer between the outer and lining layers to provide extra padding. Slide this completed fabric slipcover tightly over the wooden frame structure, securing the bottom edges of the fabric to the underside of the wooden frame using a heavy-duty staple gun. Attach small rubber bumper feet to the four bottom corners of the wooden frame to prevent the structure from scratching your sewing table surface.
Common Beginner Mistakes and How to Avoid Them
When constructing a DIY sewing machine cover, beginner sewists often make a few common mistakes that can result in a cover that is either too tight to use or sags unappealingly over time. The most frequent error is neglecting to add adequate ease or clearance measurements to the machine’s raw dimensions, leading to a finished cover that fits so tightly it catches on the spool pins or handwheel during removal. To completely avoid this issue, always add at least one to one and a half inches of wiggle room to your height, width, and depth measurements before cutting your fabric panels. Another common pitfall is skipping the installation of heavy-duty structural stabilizers, such as fusible fleece or foam, which causes the fabric sides to collapse inward and look messy. Always fuse a high-quality stabilizer to the wrong side of your outer panels to give the cover the necessary rigidity to stand tall and maintain its shape. Additionally, beginners often fail to check that their side panels are perfectly square, which leads to twisted seams and puckered corners when joining the pieces together. Take your time using a square quilting ruler to verify that all your cut corners form precise ninety-degree angles before sewing.
Practical Tips for Achieving Professional Craftsmanship Results
Elevating your handmade equipment covers to a professional, showroom standard requires focusing on the small, precise details of fabric preparation, seam finishing, and pressing. Always pre-shrink your fabrics by washing and drying them before cutting, as cotton canvas and linen can shrink significantly and warp your carefully measured cover during its first wash. Use a high-quality steam iron to press every single seam flat immediately after sewing, as crisp pressed edges are what separate amateur crafts from professional, high-end home decor pieces. When joining the corners of your box cover, clip a small triangle out of the seam allowance at each corner before turning the cover right side out to reduce bulkiness and help the corners form sharp, crisp points. If your machine features a speed control slider or a screen, consider adding a soft, brushed flannel or velvet fabric lining to the interior panels to prevent any micro-scratches from occurring during daily use. Finally, protect your completed cover from grease splatters and fabric dye transfer by spraying the exterior with a fabric protector spray, which helps repel liquids and makes spot-cleaning a breeze.
Styling, Presentation, and Cohesive Organization Ideas
Styling your finished sewing machine cover is the creative phase where you integrate this functional accessory into the broader design and color story of your creative studio. Choose a main fabric that complements the existing curtains, wall paint, or furniture upholstery in your room to create a visually unified, professional environment. If you have multiple machines in your workspace, such as a serger, embroidery machine, and sewing machine, sew a matching set of covers using the same fabric collection to establish a beautiful sense of visual order. Incorporate elegant leather or cork accents, such as sewing a faux-leather strip along the bottom hem or adding leather handles to the top panel, to introduce sophisticated textures that elevate the cover’s design. Use clean, minimalist-style labels or delicate embroidery on the exterior pockets to identify the machine inside, which keeps your storage system organized while adding a personalized touch. By balancing functional organization with thoughtful aesthetic choices, you transform your sewing table into an inviting, high-end creative sanctuary that inspires your next project.
Budget Tracking and Time-Efficient Project Management
Completing a custom cover project efficiently within a modest budget requires smart material utilization and a structured approach to your sewing time. Begin by drafting a comprehensive cut list to see if you can source the necessary panels from your existing fabric stash or scrap pile, which makes the project incredibly budget ideas friendly. If purchasing new materials, look for durable clearance utility fabrics like denim, canvas, or home decor cottons, which offer excellent structural body at a lower price point than premium quilting collections. Allocate your budget primarily toward high-quality stabilizers and heavy-duty thread, as these hidden elements are what ensure your cover stands upright and withstands years of daily handling. Manage your project time effectively by batch-processing your sewing tasks; dedicate your first evening to measuring your machine, drafting paper templates, and cutting all of your fabric and stabilizer panels. Use your second session to fuse the stabilizers and sew any exterior pockets or quilting lines, leaving the final session completely open for assembling the panels and finishing the bottom hem.
Creative Expansion Ideas and Advanced Inspiration
Once you have mastered the basic construction steps of a standard box cover, you can explore advanced variations to further customize your sewing machine storage solutions. Experiment with incorporating integrated tech features, such as sewing a hidden pocket on the back panel designed specifically to hold your foot pedal, power cords, and instruction manuals in one secure place. Advanced sewists can explore creating a matching sewing machine under-pad, which sits beneath your machine to muffle motor vibrations and features hanging pockets that drape over the edge of your table for scrap collection. You can also experiment with complex surface design techniques, such as applying intricate fabric applique, sashiko hand-embroidery, or modern fabric paint designs to the front panel to create a truly unique work of textile art. Consider adding small, heavy-duty metal zippers along the side seams of your cover, allowing the panels to lay completely flat when unzipped so the cover can double as an organized sewing mat during active crafting sessions. By continually expanding your construction techniques and integrating clever design details, your protective equipment covers will evolve into highly customized, professional systems that bring lasting joy to your creative journey.