Idea 5: The Clear Vinyl Window Sleeve
Execution Process
The clear vinyl window sleeve introduces a modern, industrial design element by combining heavy-duty clear vinyl plastic with colorful fabric borders. This concept focuses on total visibility, allowing you to appreciate the aesthetic design, vintage decals, or computerized screen of your sewing machine even when it is fully protected from dust. The transparent panels create a clean, organized look in your craft room, making it easy to identify which machine is inside without needing to lift the cover. This approach is highly practical for makers who own multiple machines, such as sergers, coverstitches, and embroidery units, and want to keep them all systematically organized.
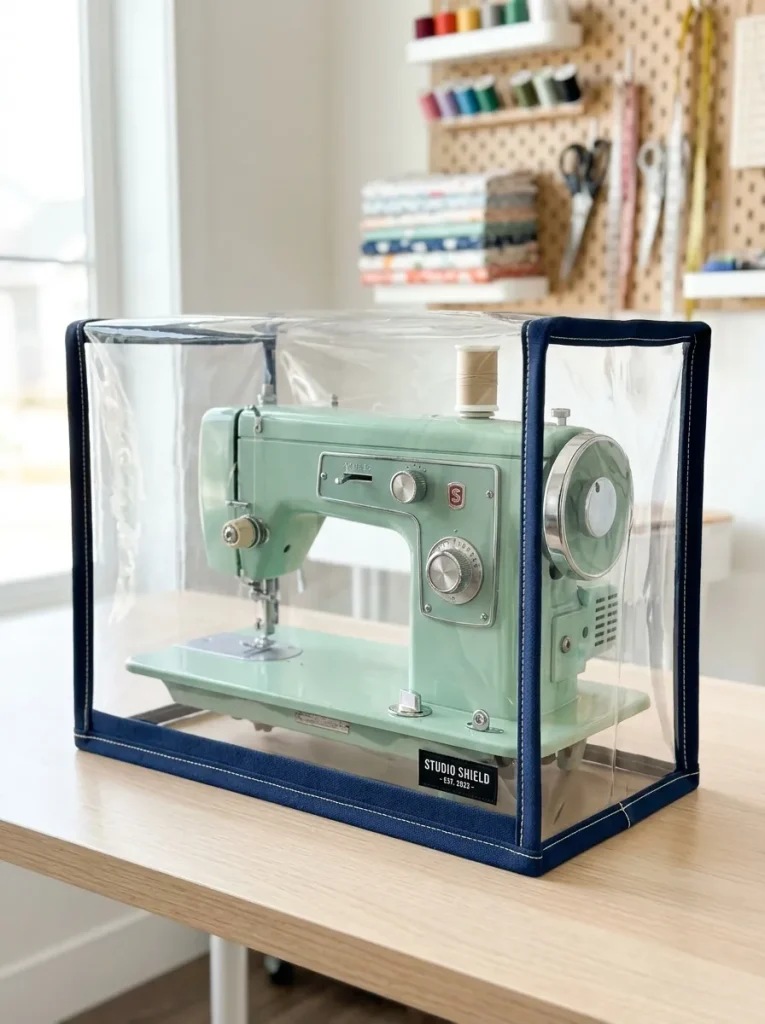
Before starting, purchase a roll of medium-weight twelve-gauge clear vinyl plastic, ensuring it is stored flat to prevent stubborn creases and wrinkles. Cut your front, back, and top panels from the clear vinyl sheet using a rotary cutter, taking care not to use standard pins which will leave permanent, visible holes in the plastic. To create a beautiful structural frame, cut two-inch-wide strips of colorful cotton canvas to serve as the structural side panels and corner bindings. Wrap these fabric strips around the edges of your vinyl panels, securing them temporarily in place using plastic sewing clips instead of metal pins. Set your sewing machine to a longer stitch length and install a non-stick Teflon presser foot to prevent the vinyl from dragging or sticking to the machine bed as you sew. Sew the fabric-bound vinyl panels together using a heavy-duty needle, creating a strong, structured box with contrasting fabric borders that hold the clear vinyl panels in perfect alignment.