Idea 7: The Handle-Access Slotted Cover
Setup Method
The handle-access slotted cover is a highly practical variation designed specifically for portable sewing machines that are frequently carried to classes, retreats, or different rooms. This concept features a clean, reinforced horizontal slot or opening built directly into the top panel of the cover, allowing the machine’s built-in carrying handle to pass through. By keeping the handle easily accessible, you can lift, transport, and store your machine safely without needing to remove the protective dust cover. This project is a fantastic option for active crafters who value portable convenience and smart, integrated organization in their gear.
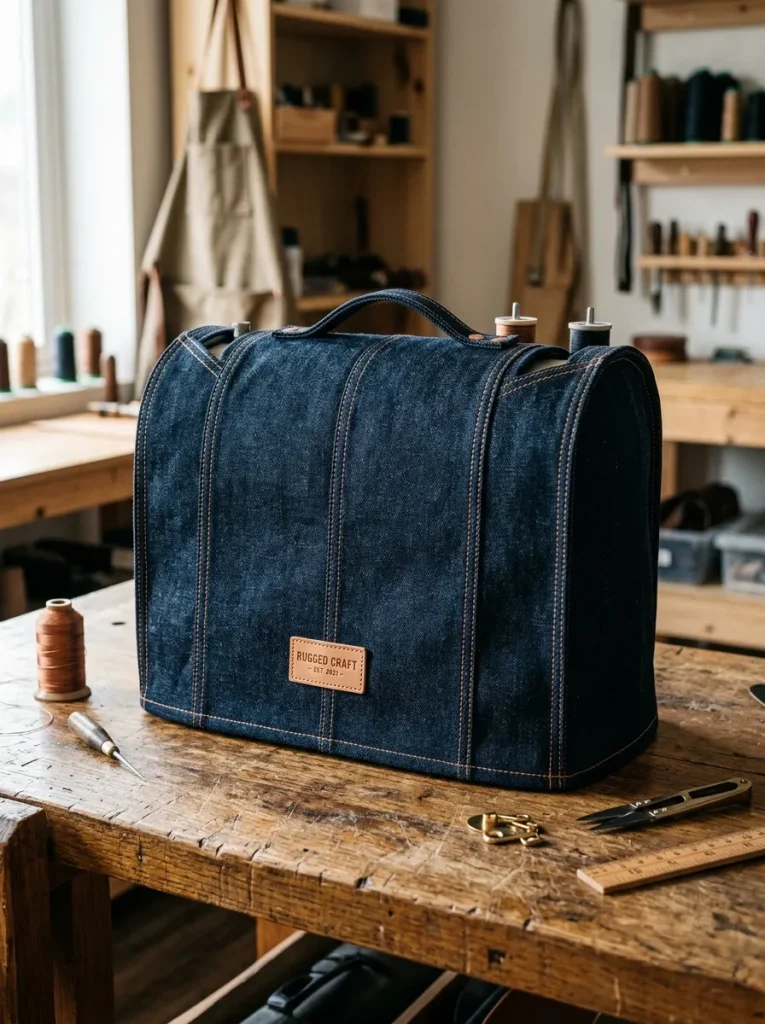
To set up this slotted project, measure the exact length, width, and position of your sewing machine’s carrying handle when it is folded flat against the top of the machine. Cut your outer top panel fabric, lining top panel, and fusible fleece stabilizer according to your master dimensions, adding a half-inch seam allowance. Use a fabric marker to draw a narrow rectangle on the wrong side of your outer top panel, matching the exact footprint of the handle opening. Place the outer top panel and lining top panel together with right sides facing, and sew directly along the drawn rectangular outline using a short stitch length. Use sharp embroidery scissors to slice a straight line down the center of the stitched rectangle, making small diagonal cuts into the four corners without snipping the stitches. Pull the lining fabric completely through the sliced opening to the inside, press the turned edges flat with a hot iron to create a clean, professionally faced slot, and then assemble the rest of the cover as normal.