Idea 2: The Multi-Pocket Organizer Wrap
Step-by-Step Guide
The multi-pocket organizer wrap is a highly functional utility cover designed to consolidate your most frequently used sewing notions directly onto the exterior of your machine housing. This concept features flat, partitioned slip pockets sewn onto the side and front panels, providing dedicated slots for fabric shears, seam rippers, clear rulers, and marking pens. By keeping these essential tools organized and easily accessible on the outside of your cover, you declutter your primary sewing table and streamline your workflow. This project is incredibly beginner friendly and functions as an excellent way to practice creating clean, flat pockets with reinforced stitching.
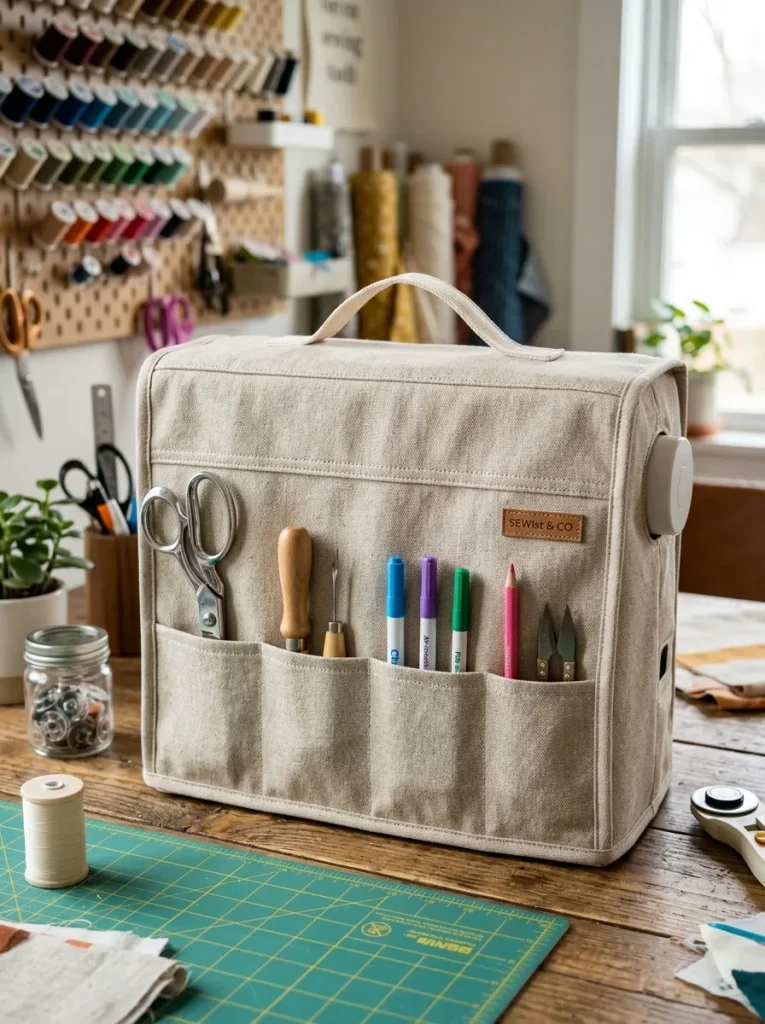
Begin by cutting your outer and lining fabric panels according to your machine’s unique dimensions, adding a half-inch seam allowance to all edges. To create the exterior storage pockets, cut a rectangular fabric strip that matches the width of your main front panel but stands at half the total height. Fold this pocket strip in half lengthwise with right sides facing, sew along the top raw edge, turn it right side out, and press it flat to create a clean, finished top pocket hem. Position this prepared pocket panel onto the lower half of your main outer front panel, aligning the raw bottom and side edges perfectly. Sew vertical lines down the pocket panel at varying intervals to create custom-sized compartments, making sure to backstitch securely at the top of each line to reinforce the pocket openings. Assemble the main cover by sewing the front, top, back, and side panels together, ensuring the pocket panels are caught securely in the side seams, and finish the bottom hem with coordinating bias binding.